I pulled the seats out and replaced the carpet and floor mats. About 20 years ago, I pulled a ratty console and tilt column out of Gilligan, a Magnum parts car. I sent the console to an interior shop to be recovered, and bought a new console lids on eBay. I sanded and painted the non-granny steering column. The original tilt steering is available – if anyone with a 70s B-Body wants to convert their non-tilt steering to tilt. I bought a set of near new black leather BMW Coupe power seats, and installed them in the car.

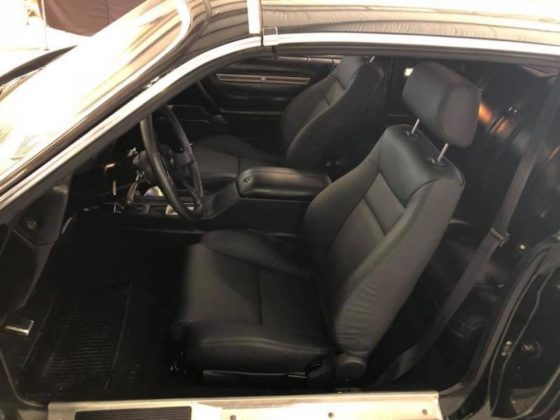
The seat looked great, but felt too small for my wide back (and fat ass) – as I weighed 330 at the time. I weigh 250 now, and they’d most likely be great – but I ordered and waited 3 months for aftermarket black leather seat that were the widest on the market. They’re now installed. I have the BMW power seats wrapped and for sale. They be great in any muscle car with black interior. Black leather seats from a 2-door (allowing passengers to get into backseat) are rarer than hen’s teeth.
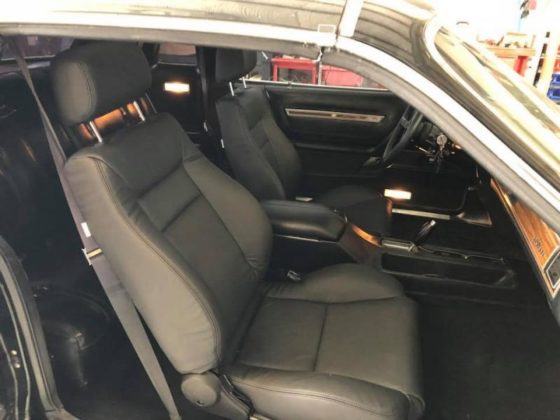
These seats then had a semi-gloss leather coating used on interiors back in the 60-80s.
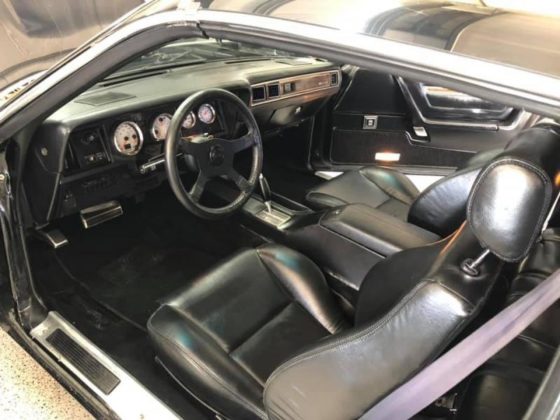
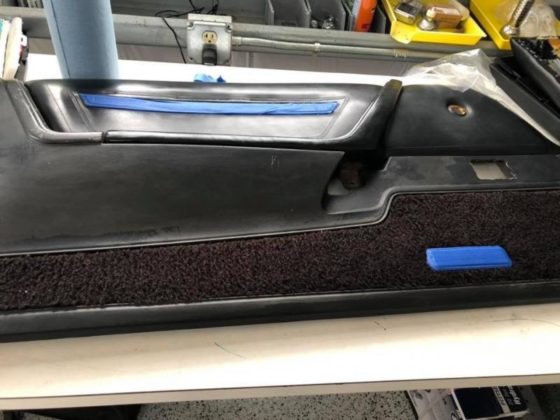
You may note that the door panels and gauges are also different. Let me tell you about them. First the door panels.
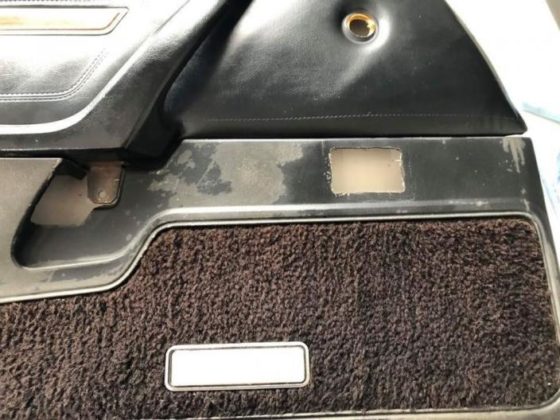
The above is how they looked after 40 years of use. I scuffed and wiped down with wax and grease remover, and masked off.
I generally start with two light coats, and then one wet coat of spray vinyl dye. That worked well for the hard plastic and carpet, but the soft vinyl would have parts that looked like it was soaking it up. It was splotching with parts being gloss and parts being flat. I thought I’d must done something wrong in prep, but it finally came out OK by the time I’d hit the soft vinyl another six or seven times with a wet coat, waiting about 2-3 minutes between. It took a full 12oz can for first panel.
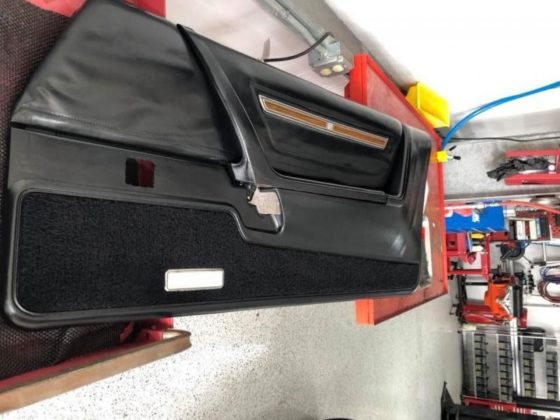
Same deal with second panel. I made sure I’d rubbed off all of the wax and grease remover, and let it air dry for an hour. However, same deal. Hard plastic and carpet looked good after two light and one wet coat, but I had to keep hitting the soft plastic with more wet coats where the dye dries in a flat splotches. When the soft vinyl finally was a consistent gloss, I had just enough left in the can to give the entire soft vinyl an even wet coat instead of just dressing up the splotches.

I think it came out looking pretty good. The gloss made the soft vinyl look a little loose, but it tightened up when clipped onto the doors.

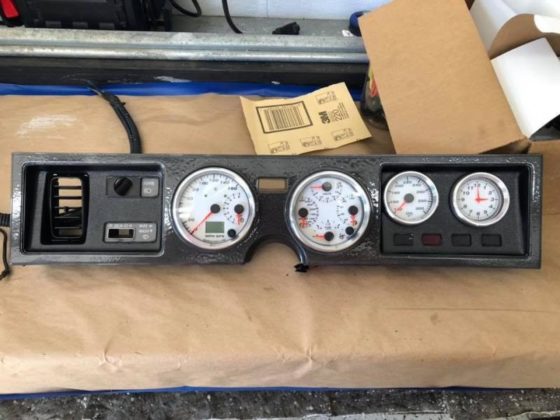
A Couple of decades ago, I made an aluminum upper and lower panel, painted flat black; and then filed then with switches, vents, little lights and Dakota Digital Gauges. That look didn’t work for me, but it’s for sale if it works for you.
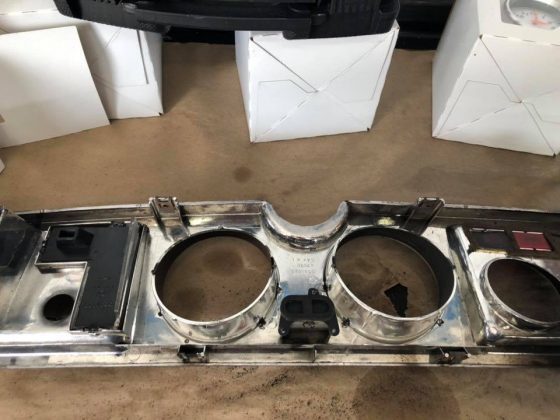
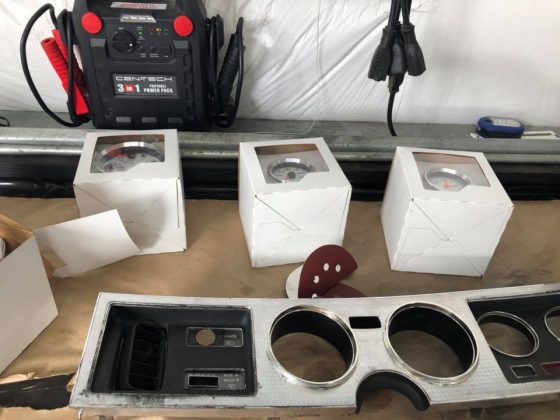
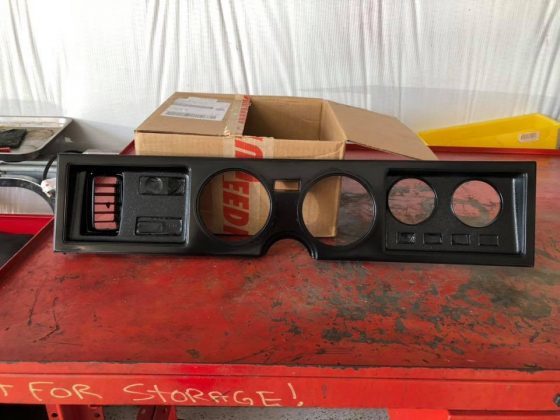
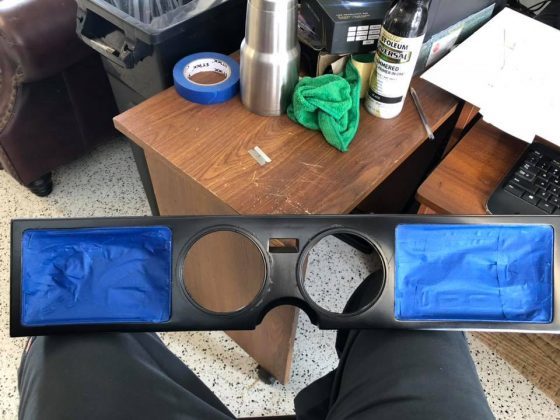
So I bought an empty gauge panel on eBay, and ordered about $1000 worth of custom gauges close to the size of the holes. I bought a large Speedometer (with Tach) that works off GPS; and a large gauge that has Volts, Oil Pressure, Coolant Temp and Fuel Level to fill the two big holes. To fill the two smaller holes I bought an Oil Temp gauge and a clock.
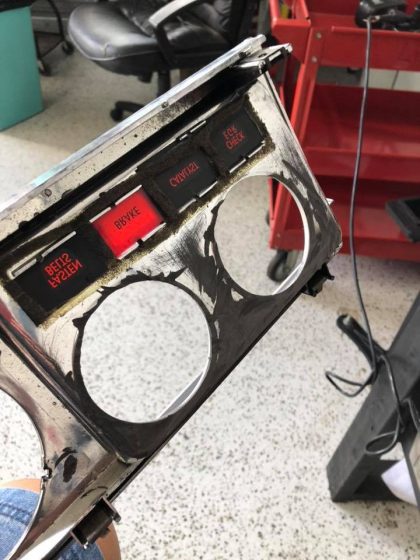

The two big gauge holes with the sleeves in them were too small by about 1/16″, so I had to cut the welds attaching the sleeves to the panel and pop them out. Once out, the holes were now 1/8″ too big. On the small gauge holes, I had to cut the inset hoods off as the gauges were too shallow for the screw on collars that attach the gauges to the panel to screw on the back of them.
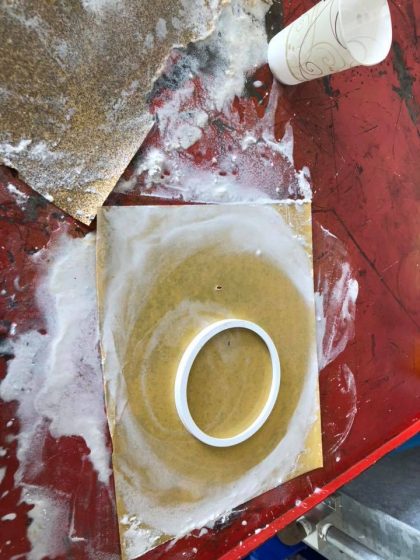
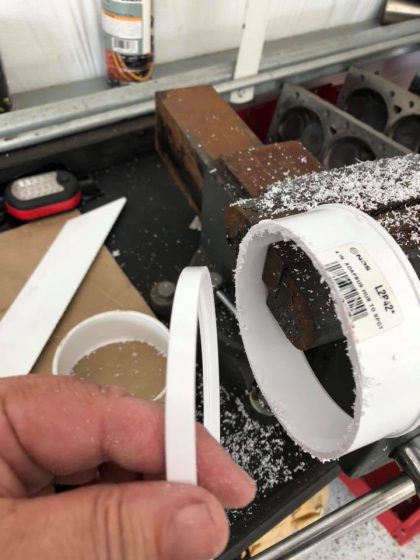
To make the big gauges fit, I made some spacers from 4″ schedule 80 PVC sleeves, by hand sawing about 3/8″ off the end and wet sanding until they were smooth and the same size.
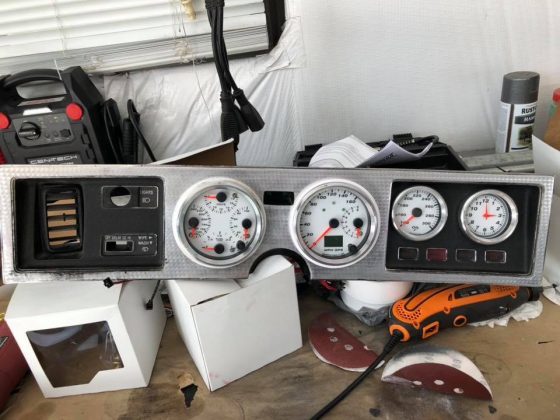
I mocked the gauges up to make sure they fit prior to doing any sanding and painting on the gauge panel. They did, so I glued the spacers onto the panel.
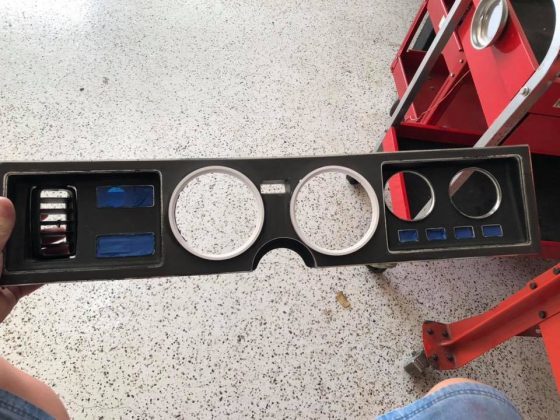
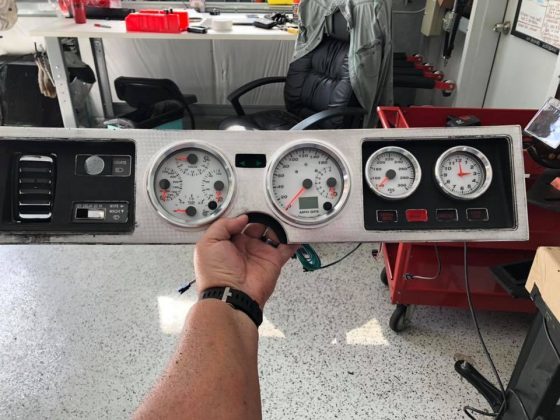
I wet sanded the panel and masked off the idiot lights.
After painting gloss black, it looked too gloss and cheesy. Some of the glue around the rings (that I swore I’d sanded all of the way off) was also showing.
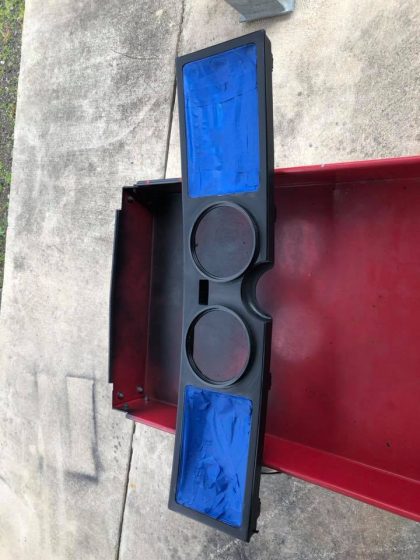
So I decided to leave the coves glossy black, but have the flat portion in a hammer tone black – to tone down the gloss and hide imperfections. So I taped off the coves, sanded some more on the glue around the rings, and wet sanded the areas to get the hammer tone paint.
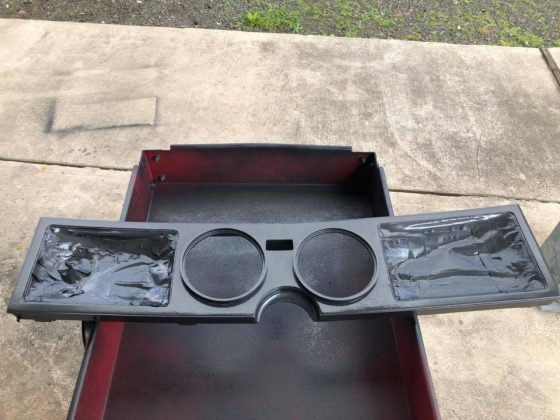
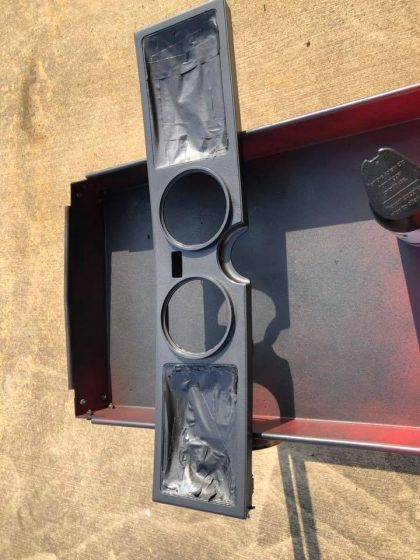
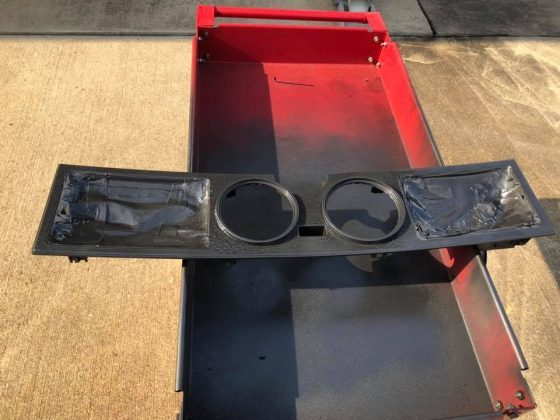
I hit it with two light coats with an hour between, and then a very wet coat after another hour.
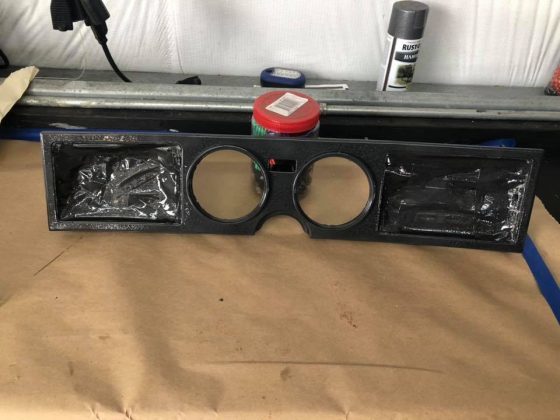
And ready for installation.