This is the second a series of articles I am posting on Home Automation. You may want to first read the post Home Automation Part One – What is Home Automation?
In this article I’ll cover the installation and configuration of Smart Locks. I’ve installed four so far. At the race shop, I have a retired helper that keeps the shop clean and maintains the property for me as a handyman, a friend that works for me one day a week helping me getting my car collection in salable condition. and my daughter works for me a couple days a week washing cars and trucks. With a Smart Lock, I can send them “invitations” to install a pass key on their smart phones, so the can get into the shop, and lock it up. I can restrict when they have access, get a text when they lock or unlock, and delete them should they no longer need access. I have installed two of these locks at my lake house. Housekeepers come every other Wednesday and they’re set up to access the house only then. Each of my kids can use their phones for access if they were to arrive before us. I have a guy who will be coming to install blinds and Plantation Shutters while I’m out of town, but he can call me when he gets here and I can open the door and lock it when he leaves. You can also use a Smart Assistant (Like Alexa) to lock and unlock (with a PIN) the locks. This converts an existing deadbolt by replacing the inside with a computerized motor, while retaining the outside lock that allows the option of using your key.
That’s some of what you can do with with a Smart Lock, but this article is about installation and configuration of the lock. The instructions are good if everything goes well, but in the four locks I’ve installed, none of them has gone well, all for different reasons. I was able to figure it out, and I thought I’d share what I’ve learned so others might have an easier time of it.
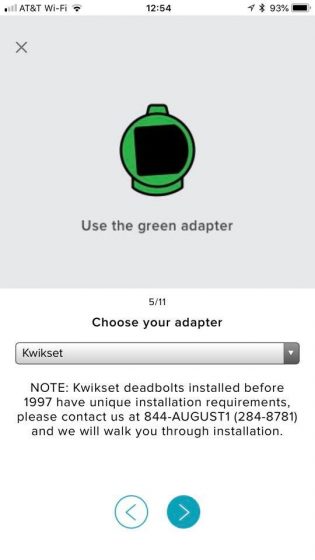
First off, there are quite a few brands, and a wide range of prices. The most popular, and the most expensive is the August. This is pretty new technology and I don’t need to be bleeding edge just to save a couple of bucks. The hardware is not rocket science, its the app that is going to be used more often, and the money spent there for a good one is important to me. The newest version is the Third Generation and its the way to go. While its not needed to use the lock within Bluetooth range, there is a version package with the “August Connect” option. This bridges the lock to your WiFi. That will give you the ability to receive activity texts and have remote access to the lock. It’s $30 more, and the connect bridge needs to be plugged into an outlet.
A couple considerations:
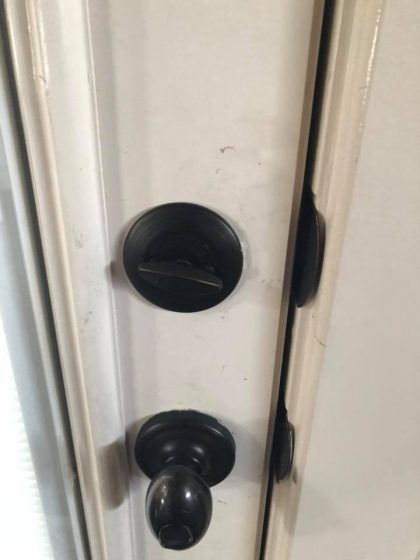
The lock is about twice the size of the inside knob it will replace, and it has wings that open up to fit to the lock mount, and the close to clamp around the mount. You need to make sure that you have enough space around where the lock will go.
The existing lock needs to be properly adjusted to lock with door closed, without having to push or pull a little on the door to engage the deadbolt. If it isn’t perfectly adjusted to smoothly lock when the door is fully closed, make the adjustment first.
If you’re going to use the connect you have to find an outlet to plug it in having the right balance of being close enough to the lock for a bluetooth connection, and close enough to a 2.4ghz WiFi. Also have your iPhone logged into a 2.4ghz WiFi. It won’t work with 5ghz.
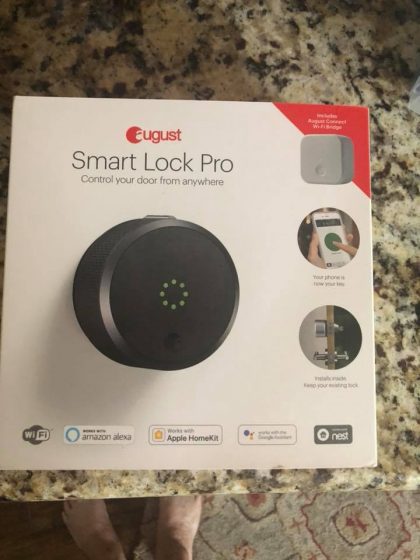
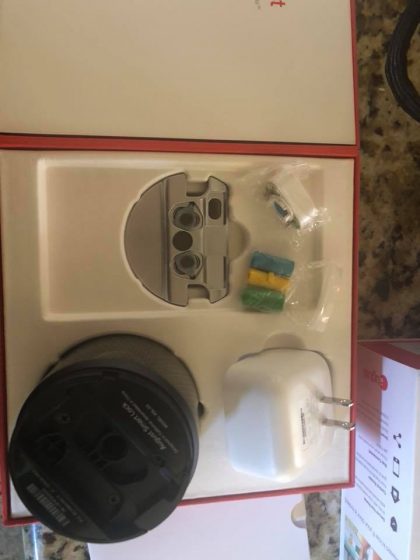
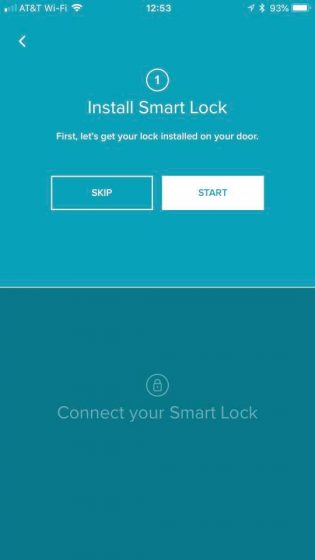
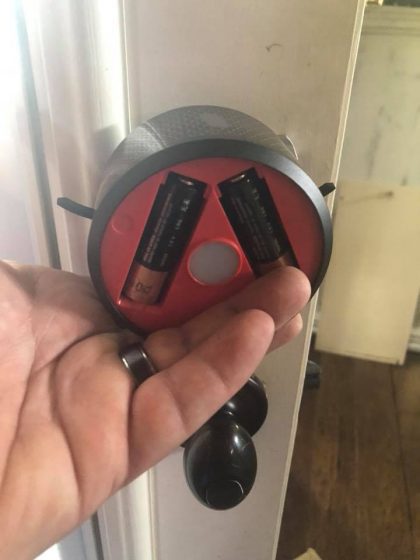
The box comes with the lock, a mount, plastic adapters, position sensor, and the connector bridge. Download the August App from the Apple store, and go to install new device. It will walk you through these steps?

First tape the outside of the lock so it doesn’t move around when you remove the inside portion.
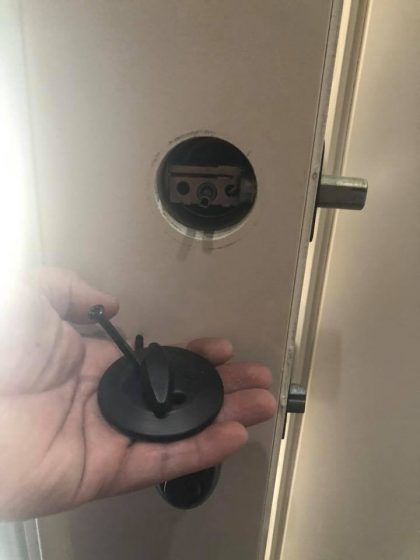
Remove the two screws holding the inside of deadbolt and remove.
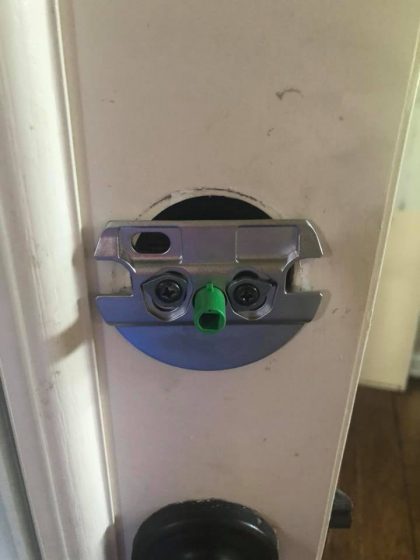
Using the two screws you removed, attach the mount as in photo above. Stop as soon as you feel resistance and don’t tighten further as it will be too much resistance for the lock motor.
 The app helps you select the right color plastic adapter for your lock. It is keyed with a big and small tab on the center of the adapter. If it isn’t clocked right for the lock, switch ends.
Clamp on the lock like the app instructs you. The app tells you to mount the sensor within an inch and half of extended dead bolt and screw down. I just attach using the tape until after running setup, in case you have to move it a little. After it passes the setup then I screw down.
Now you’re ready to run the configuration on your phone. You’ll need to have your phone within 5′ of the lock. Select configuring both the lock and position sensor. It will walk you through locking and unlocking, opening and closing the door so the lock learns what it needs to know to work properly.
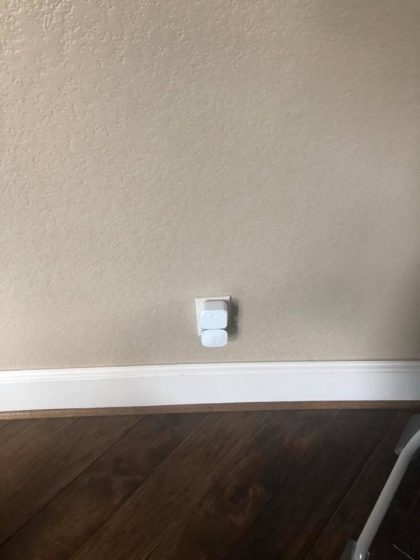
Once the lock it set up, select set up Connect. Plug it in an outlet close to the lock, but is also in distance of a decent WiFi connection.
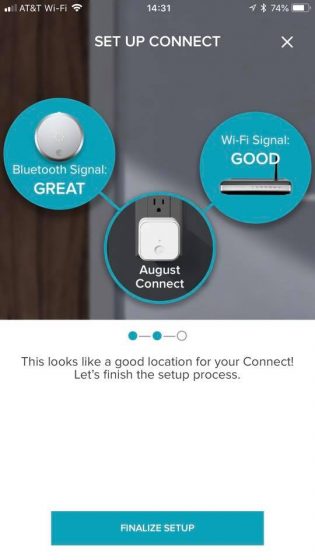
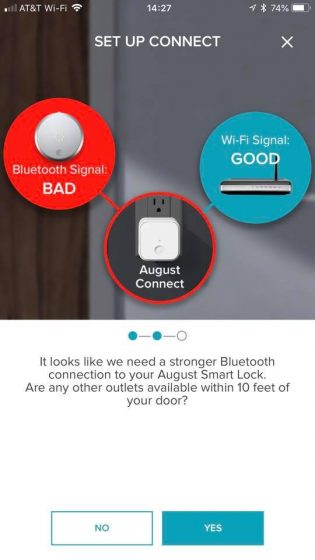
Setup will let you know if you have a decent bridge.
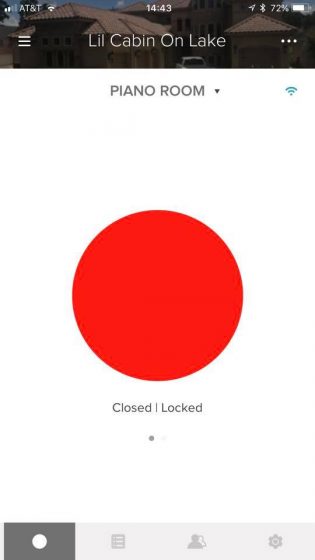
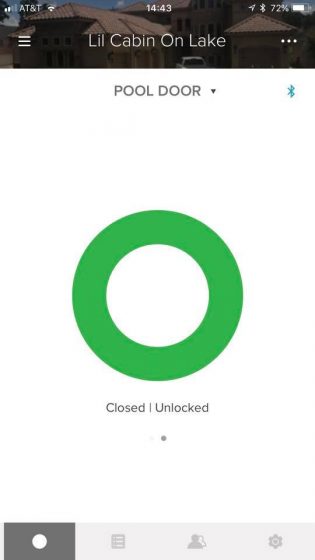
If all goes well, you can new lock and unlock the door using your phone.
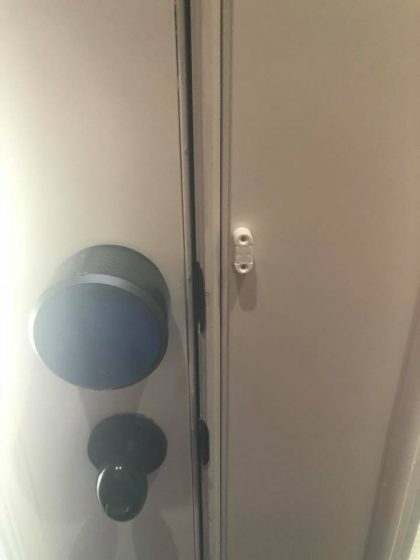
Now two of the locks I’ve installed were too big for the area because of molding around the center glass.


I had to chisel the molding to make it fit.
I hope this helps you understand what a smart lock can do, what’s involved in installing, and the potential problems.